+86-13858039910
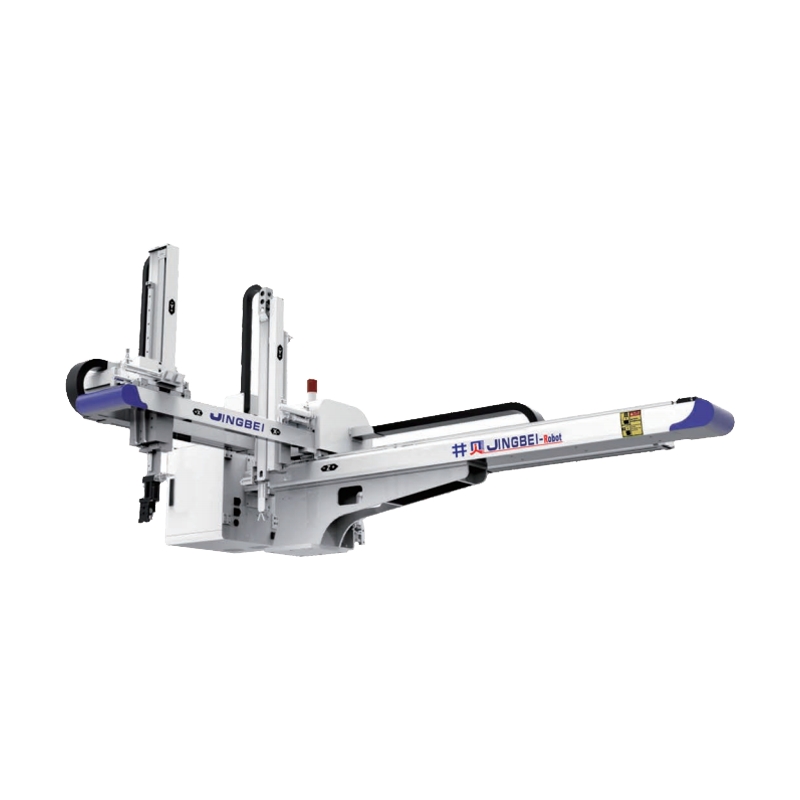
After the 3-axis robot is installed on injection molding machine, then we need to connect the 3-axis robot with the injection machine:
1. Connect the wires: Turn off the power of injection machine. Classify the wires and tie them together accordingly: injection machine connecting wires, power wires, operator connection wires. Hang up the operator. Connect the injection machine connecting wires to the injection machine accordingly. Connect the power wires to reach power, Voltage unidirectional 220V. Brown wire is live wire, blue wire is Neutral Wire, yellow wire is Earth Wire. Note: please turn off the power of injection machine before connecting the wires. While connecting the power, use electric pen to make sure injection machine power is cut of no voltage.
2. Check the signals: Plug in the air pipes(standard air pressure 5-7KG).Check if the power cable is connected. Check if there is short circuit. Open the power of injection machine, measure and make sure the 3-axis robot voltage is 220V. Firstly, Robot Aviation plug plug in "not use robot arm". Manually open mold, close mold, thimble out and check if these three signals are working. Then, Robot Aviation plug plug in “ use robot arm”. Manually move the robot arms to the middle of the Z axes, turn on the robot power. When the 3-axis robot move back to its original position, open the "robot function" signal on injection machine (some injection machine, do not need to open this function manually). Open and close the safety door one time. Close and lock the mold to check if the thimble work normally. When robot is power on and using: open and close the safety door one time, check the screen of robot operator if there the "safety door" signal is working. When you open the safety door, the "safety door" signal light should be off. When you close the safety door, the "safety door" signal light should be on. Open the mold completely, check the screen of robot operator if the "mold F" signal is working. When the mold is open completely (open mold finished) , the "mold F" signal light is open. When the mold is not open completely (open mold not finished) , the “mold F” signal light is off. If you close the mold now, the injection machine will have signal "robot fail" of "robot abnormal" or "robot locked". Don't worry, this is normal situation. You open and close the safety door one time, the signal will disappear. When mold open finished, use the robot operator to move robot arms down into the mold. Press "injection mold lock" and see if it's able to lock the mold. The answer should be "unable to lock the mold" but can thimble out. Use the robot operator to move robot arms up. When the robot arms moved up, mold can only be locked after you open and close the safety door one time. When using the 3-axis robot, you should check the robot signals such as "safe D", "Open F". And check injection machine function such as "open mold", "lock mold", "thimble".
Jingbei Technology (Zhejiang) Co., Ltd.
Copyright © Jingbei Technology (Zhejiang) Co., Ltd. Rights Reserved. China Servo Injection Molding Robots Manufacturers